
Vertical: General Practice
PMS Eligible: Best Practice, Pracsoft, Zedmed
The Recalls 'Categories' feature lets you group multiple recall reasons into one category. Each category can have its own SMS and letter template, so you don’t need to manually choose or create a recall template each time you send recalls.
Your first categories are created during guided Recalls setup based on your recall reasons and urgencies. This article explains how to review, edit and add to them afterwards.
Categories also support ‘grouping’, so if multiple SMS recalls are being sent to the same patient, recalls linked to the same category will be combined into a single message instead of being sent separately.
You can also add an automation rule to each category to automate contact attempts. For example, a “2 SMS + 1 Letter” rule can send an SMS 14 days before the recall due date, another 2 days later, then queue a letter 2 days after that. To learn more about automation, click here.
Alternatively, our step-by-step written guide is below:
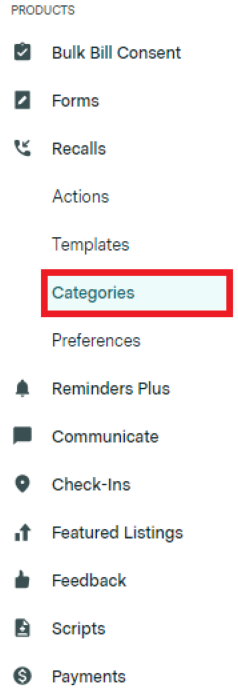
To set up your Recalls categories, navigate to the ‘Categories’ page within the ‘Recalls’ menu in Practice Admin.
Click the teal “+ Add new category” button at the top right to create your first category. This will bring up a form where you can add the relevant details, including:
- Category name
- Automation rule
- Associated SMS template
- Associated Letter template
- Linked recall reasons
- Linked urgencies
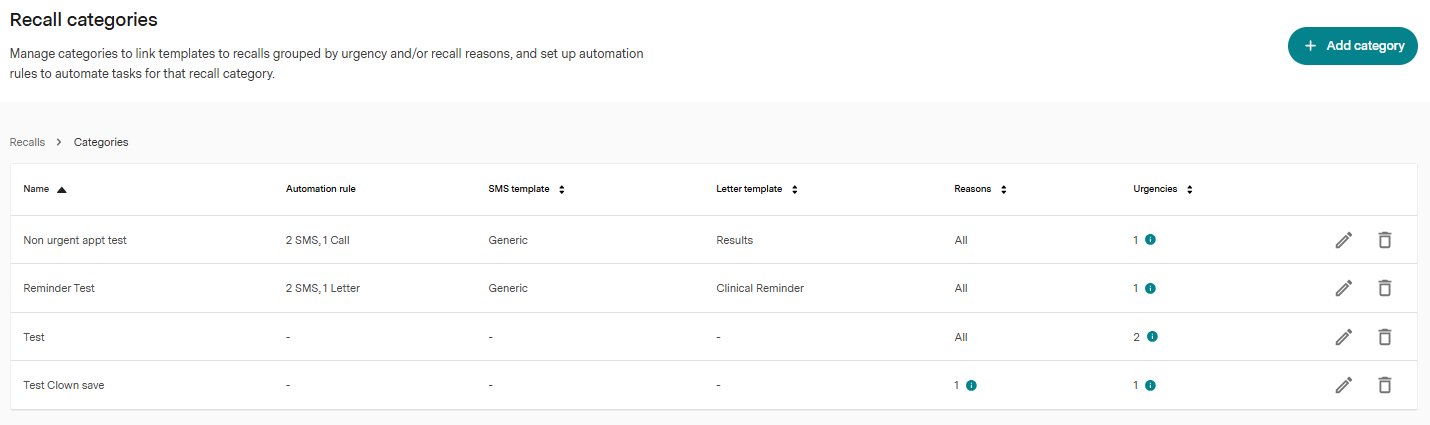
The category name should be related to the recall reasons and/or urgencies you plan to add to the category. For example, if you want to add the “Non-urgent” urgency, you could call the category “Non-urgent results”, as this category would apply to any recalls with the “Non-urgent” urgency. As another example, if you want to have a category for all of your clinical reminders, you could add the “(no urgency)” urgency and title the category “Clinical reminders”.
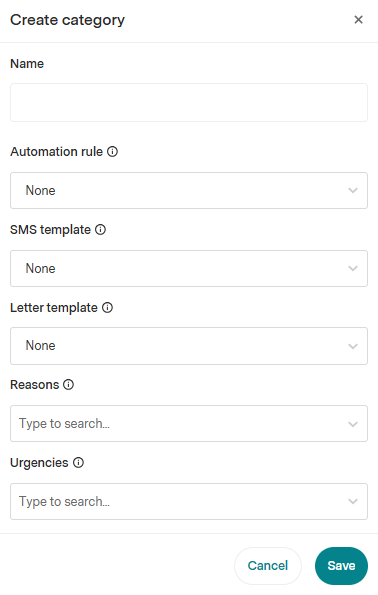
You can change the name of the category at any time, so don’t worry about it too much if you’re not sure what to call it yet.
You can then add an automation rule if you choose - but this is optional. To learn more about automation and how it works, please refer to this related article.
Next, add an associated SMS and letter template. These should be relevant to the recall reasons and/or urgencies you plan to add. If you are having trouble finding the template you want, you can start typing the name of what you’re looking for into the box to narrow down the list.
The templates on a category will automatically be used for any future recalls sent with the recall reasons and/or urgencies in that category.
You may wish to come back to this step later once you’ve decided what categories you want and make relevant SMS and letter templates accordingly. Note that a category will not work without an SMS and letter template, so don’t forget to come back and do this at some stage if you don’t do it now.
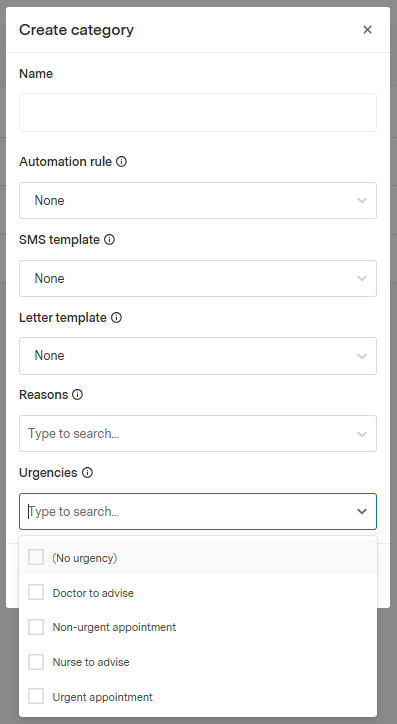
The next step is to add your recall reason(s) and/or urgencies. As an example, you may want to create one category for all results and another for all clinical reminders. If so, you could add all urgencies except the “(no urgency)” urgency to the results category and only the “(no urgency)” urgency to the clinical reminders category. However, if you want to break it down more specific than that - say, to have a category for Over 75 Health Assessments, specifically - then you can achieve this using a combination of reasons and urgencies. Note though that this can become complex, as described in this related article. Please refer to the linked article just above if you get stuck, or reach out to our friendly Support Team.
Once you’ve finished creating your categories, don’t forget to click the “Save” button to keep your changes.
Editing a Category
To change your categories, simply click the pencil icon on the one you wish to change.

Deleting a Category
To delete a category, click on the “Edit category” button and then the “Delete category” button that appears.

For any recalls with reasons and/or urgencies that are not assigned to a category, you will still need to manually choose the recall template or manually create the recall message for those recalls at the time of sending. However, recalls with reasons and/or urgencies that are assigned to a category will still automatically select the template linked to the category.