
Vertical: General Practice
PMS Eligible: Best Practice, Pracsoft, Zedmed
This article will guide you through how to set up the automation feature in your Healthengine Recalls to save time and effort processing your recalls.
Before configuring automation for your Recalls, we recommend reading about how the new automation feature works here. There is also a frequently asked questions article you can view here.
| PLEASE NOTE: We strongly recommend practices do a 'tidy' of all open and existing recalls that pull through from your Practice Management Software. This is to ensure that the data that pulls through going forward is accurate and up to date. If you require any assistance with this, please reach out to our friendly Healthengine Support Team via phone, live chat or email support@healthengine.com.au. |
⚠️ If you have not finished the guided Recalls setup in Practice Admin, do that first. See Setting up Recalls for the first time. Nominating a PMS user for automated actions is part of that setup, so it may already be done.
Step 1. Assign a PMS user for automated actions
The first step to set up automation for your Recalls is to assign a Practice Management Software (PMS) user for automated actions. This is the PMS user that will be noted against any audit notes recorded in your PMS patient records for automated actions. The automation features will not work until this user is set. To assign the user, navigate to the 'Preferences' page of Recalls in your Healthengine Practice Admin portal:
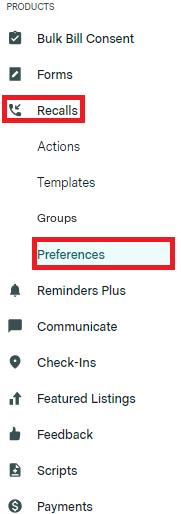
Once you are on the Recalls 'Preferences' page, scroll down to the 'User for automated recalls' setting.

Here you will see a drop down menu with a list of your PMS users. Click on 'Choose a user' to open the drop down menu and select which PMS user should be assigned against automated actions, then click the 'Save' button at the bottom of the 'Preferences' page. This setting can be changed at any time.
Step 2. Assign your urgencies to the 3 urgency types
The next step is to assign your urgencies (read from your PMS) to one of the 3 urgency types in Healthengine Recalls. To do this, first navigate to the 'Preferences' page of Recalls in your Healthengine Practice Management portal:
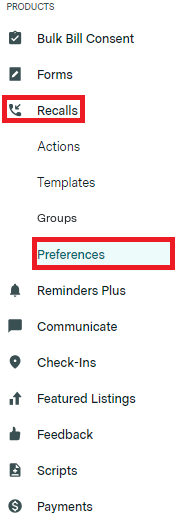
Once you are on the Recalls 'Preferences' page, scroll down to the 'Subsequent Contact Timeframe' setting. Here you will see the 3 urgency types - 'Clinical reminders', 'Non-urgent results', and 'Urgent results'.

Each of the urgencies read from your PMS will be automatically assigned to the 'Non-urgent results' urgency type and any recalls with no urgency will be automatically assigned to the 'Clinical reminders' urgency type. Both of these urgency types will use your original "Subsequent Contact Timeframe" settings for SMS, calls, and letters. If you are happy with this, you can move on to step 3.
If you would like to re-allocate some of your urgencies as 'Clinical reminders' or 'Urgent results' so that you can set different contact timeframes for recalls with these urgencies, you can do so by first deselecting them from the drop down under 'Non-urgent results' and then selecting them in the drop down under either 'Clinical reminders' or 'Urgent results'.
You can then update the contact timeframes for SMS, calls, and letters under 'Clinical reminders' and/or 'Urgent results' as per your requirements. Once this is done, save your changes by clicking the 'Save' button at the bottom of the 'Preferences' page.
Step 3. Assign your recall reasons and/or urgencies to groups
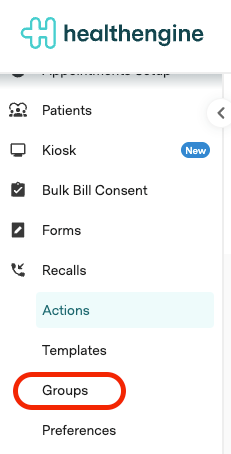
The next step is to assign your recall reasons and/or urgencies to groups. As the groups feature (previously called Categories) has existed for a while, you may have already done this and can skip to step 4. If not, you can do this by navigating to the 'Groups' page of Recalls in your Healthengine Practice Admin portal:
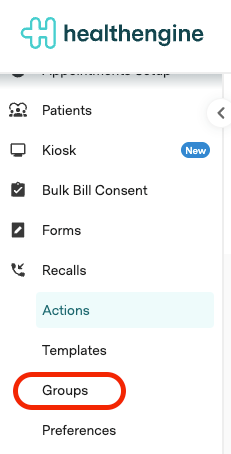
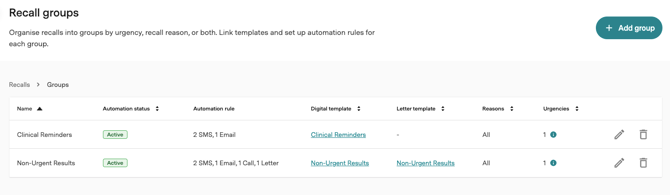
To learn about how the groups feature works and how to configure groups for your recalls, please view our related article here.
Step 4. Add automation rules to your groups
If you already completed this step when creating your groups in step 3 above, you can continue straight to step 5 below. Otherwise, if you have yet to add automation rules to your groups, please continue reading step 4 below.
To add automation rules to your groups, first navigate to the 'Groups' page in Recalls in your Healthengine Practice Admin portal:
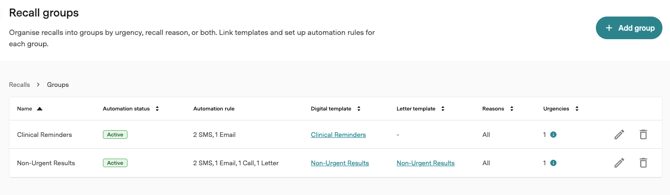
Once on the 'Groups' page, click the pencil icon next to the group you want to automate. This opens the Edit group window. The Automation rule section sets the series of contact attempts for that group, for example 2 SMS and 1 letter.
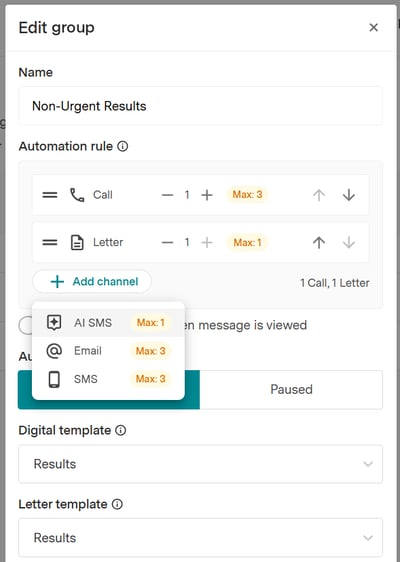
Click Add channel to add a contact method, such as SMS, Email, Call or Letter. Use the minus and plus buttons to set how many attempts to make on each channel, and the arrows to change the order. An automation rule of 2 SMS and 1 letter would automatically send 2 SMS contact attempts and queue 1 letter contact attempt for recalls in that group. This would be done according to the contact timeframe settings specified on your Recalls 'Preferences' page. To learn more about automation rules and how they work, please view our related article here.
Each group also has two optional stop conditions:
-
Stop when the message is viewed: automatic contact attempts stop once the patient opens the recall message. Recommended for clinical reminder groups.
-
Stop on a future booking: automatic contact attempts pause when the patient has an upcoming appointment. You choose which appointment types count; appointment types you have not selected will not pause automation.
Set the group's automation status to Active, then click Save. Repeat this for each group you would like to automate.
Please Note: Not all groups need to be automated. This is up to the needs and preferences of your practice.
Please note that any assigned automation rule/s will take effect immediately when you save the group.
Step 5. Review your Recalls 'Preferences'
Since the automation feature relies on your pre-existing Recalls 'Preferences', we recommend reviewing these as part of configuring automation for your recalls to ensure that they remain appropriate for an automated process.
For example, you may wish to review your 'First Contact Timeframe' and your 'Subsequent Contact Timeframe' settings to ensure recalls are sent at an appropriate time by the automated system since this will now happen automatically in the background rather than relying on staff at your practice manually choosing when to send which recalls.
While you are reviewing your preferences, check your age-based communication rules. These let you nominate age ranges that should receive letters instead of SMS. Practices commonly use this for younger patients whose mobile number may be shared with a parent or carer.